Pages

Friday, 20 September 2013

Heraldic Arts

I am doing my heraldry backwards! By that I mean I have just started a CLAS Certificate of Skills course in Heraldic Arts, with the hugely talented Tim Noad. He and I are members of Oxford Scribes and we have 7 other members on the course and 4 other CLAS members joining us.
We started two weeks ago looking at how to draw a shield correctly and then how to do it in paint with a ruling pen. Try as I might there is always an inaccuracy in my drawing. I am working on the homework now.  Here are the early examples:


and some I did earlier - I'll show the finished ones later...


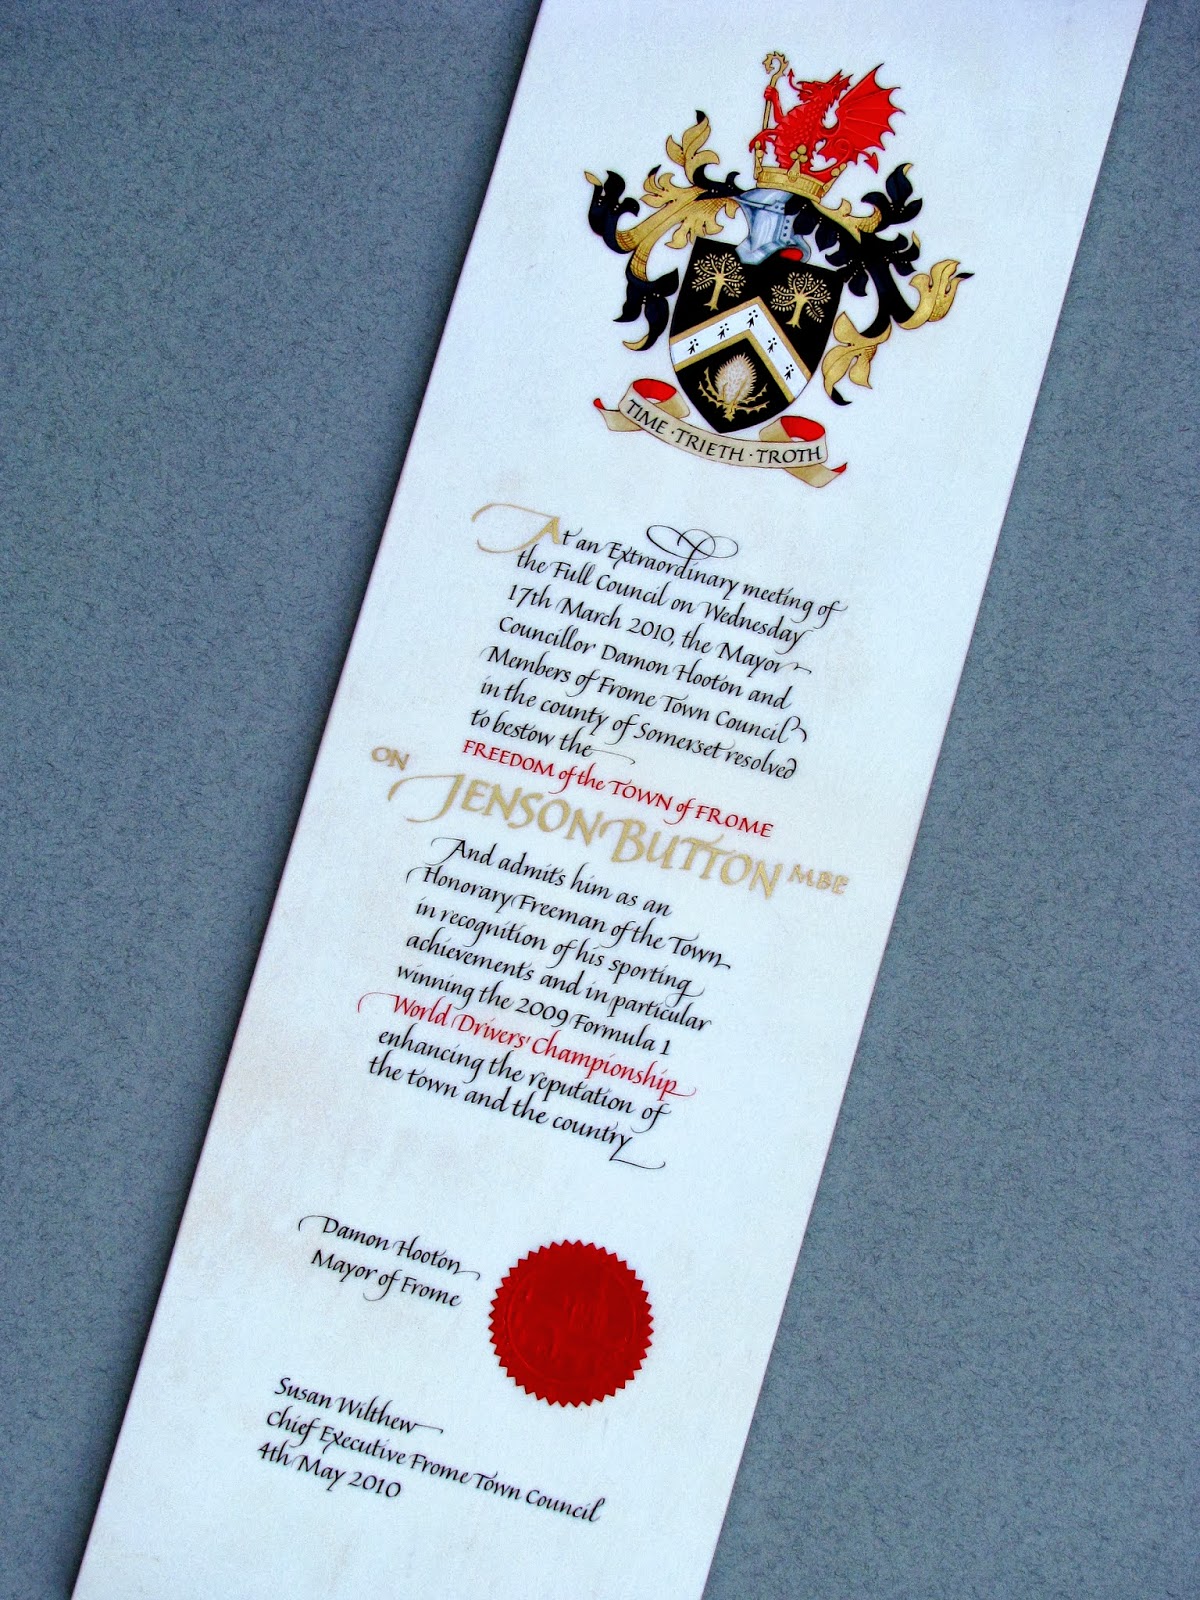
The backwards bit comes because I have just finished an Affiliation Scroll for the Worshipful Company of Leathersellers. It has been a very steep learning curve and I have had advice from Tim through the roughs stages and the final piece. I couldn't have done it without him. The nearest equivalent commission I have had was to do the Freedom Scroll for Jenson Button's Freedom of Frome which I completed while I was studying part-time at Reigate with Gerald Mynott:

This is Heather Child's version of the Leathersellers Arms


My first go at the arms drawn larger than finished size


Practise version number two - I have corrected the number of sections on the crest to six, changed the motto scroll to a much better shape and changed the colour of the lining of the helm and the scroll so there is not so much red. I used Winsor blue with a touch of zinc white. I had the roe deer looking at you because that is how it is on a tapestry at the Leathersellers and on their website but I was advised that I should not change it - there is so much to learn with heraldry about what you can and can't modify! I have stylized the mound after Tim showed me some had done.


 My practise version of 1st the Queen's Dragoon Guards Badge:


 The three roughs I produced - the bottom one was chosen


This is the second actual size practise version done on HP paper using gouache not real gold:


At last I was ready to start on the vellum. I had a lovely skin from Cowley's. The lady I dealt with
had been trained with the help of funding from the Leathersellers so I could trust her to select me an ideal skin and it saved me a very long drive to Newport Pagnell.

So after tracing everything out using Armeniam bole on a sheet of tracing paper, I started as traditionally done, with the lettering. It is a delight to write on vellum and it always seems to look better than the practise one - thank goodness!


Next job is the coloured lettering:


Then I did the gold lettering using Ormoline - it did not go well and all needed scraping back - the lettering just wasn't sharp enough. I took to Facebook and got advice from Canada, London and Australia! 


Now it's time for the gesso - I used a batch I had used before with success:


Transfer and loose-leaf gold applied, shell gold for the flat areas e.g. the deer and the re-done lettering and then time to start the fun bit - painting...


Here is the finished result - only about 4 months work!

Thursday, 29 August 2013

Finished Work and New Beginnings

Phew! At last I have finished the biggest commission I have ever undertaken. I will reveal all when I have been paid. I seem to have spent most of this beautiful summer indoors working. 

I have taught three special workshops for my class and others and it has been good to meet people again who have been on my mailing list for some time. It is a time consuming process planning a good workshop taking at least a whole day to prepare and often many materials to buy in order to sell enough for beginners to try something out. It does not always work out to be cost effective either and I have decided I need to be much more business like.


 I have started by writing up some price plans for commissions so I do not have to make individual quotes for every email enquiry. I am seriously considering giving a discount to clients who make the effort to visit me - these commissions tend to be much more satisfying as I can get a real idea of what someone wants by talking to them and seeing their reaction to different pieces of work rather than by the stilted process of email where brevity can come across as rudeness.


I feel the need to educate clients more about the process of creating a piece of calligraphy - it really isn't the same as hand writing and it is the invisible process of trials, planning, ruling up and rubbing out that takes the time. The actual process of completing a piece is the most rewarding and sometimes the easiest bit. Don't forget the years and years of learning new hands, practising and developing skills too.


Now I want to spend a little time on some work for myself and I am going to start by finishing a book I started in an Oxford Scribes Workshop in June with Edward Wates inspired by his work and that of his mentor Hans Joachim Burgert, such as this below:


Tuesday, 28 May 2013

Recent commission

This is a piece I completed recently using shell gold for the decoration.

botanical illustration at Kew

Well this is the final tally after two weeks work - not a lot to show really! I am pretty sure I shall pursue this interest but maybe with a different teacher - I would like to see how some other people approach the subject.


This is the one I am most pleased with but I didn't get to finish it as the method we were taught was incredibly slow and didn't allow for watercolour washes to build up the background colour, working only in layers of tiny dots of very washed out watercolours.


Thursday, 18 April 2013

Back to the Drawing board


Time to do a little more work on my leaves in the morning. I am sticking to dots for the camellia and hatching for the ivy. I am using a Gilot 404 now and sumi stick ink.


Now back to the challenge of measuring in three dimensions - I don't find it easy with the dividers - I would much rather stick to my old skills of comparing shapes and looking at negative space. I do spend a lot of time scanning the object and my drawing - but a bit like finding the sculpture inside a piece of stone I prefer to end up with a clean line from a very light sketch and then rubbing out the mistakes. This is not the way we are being taught which instead concentrates on measuring every single detail and vein with dividers and plotting it on the page. When working from a habit, or whole plant, this has to be done on an imaginary piece of glass in front of the plant so that everything is exactly life size.


I do however find it useful to use the dividers to scale up from a section under the microscope - I'm only working at 10.5x magnification at the moment and the drawing is x3.


Visit to the Herbarium at Kew Gardens

Day Three and we are taken on a tour of the herbarium at Kew.


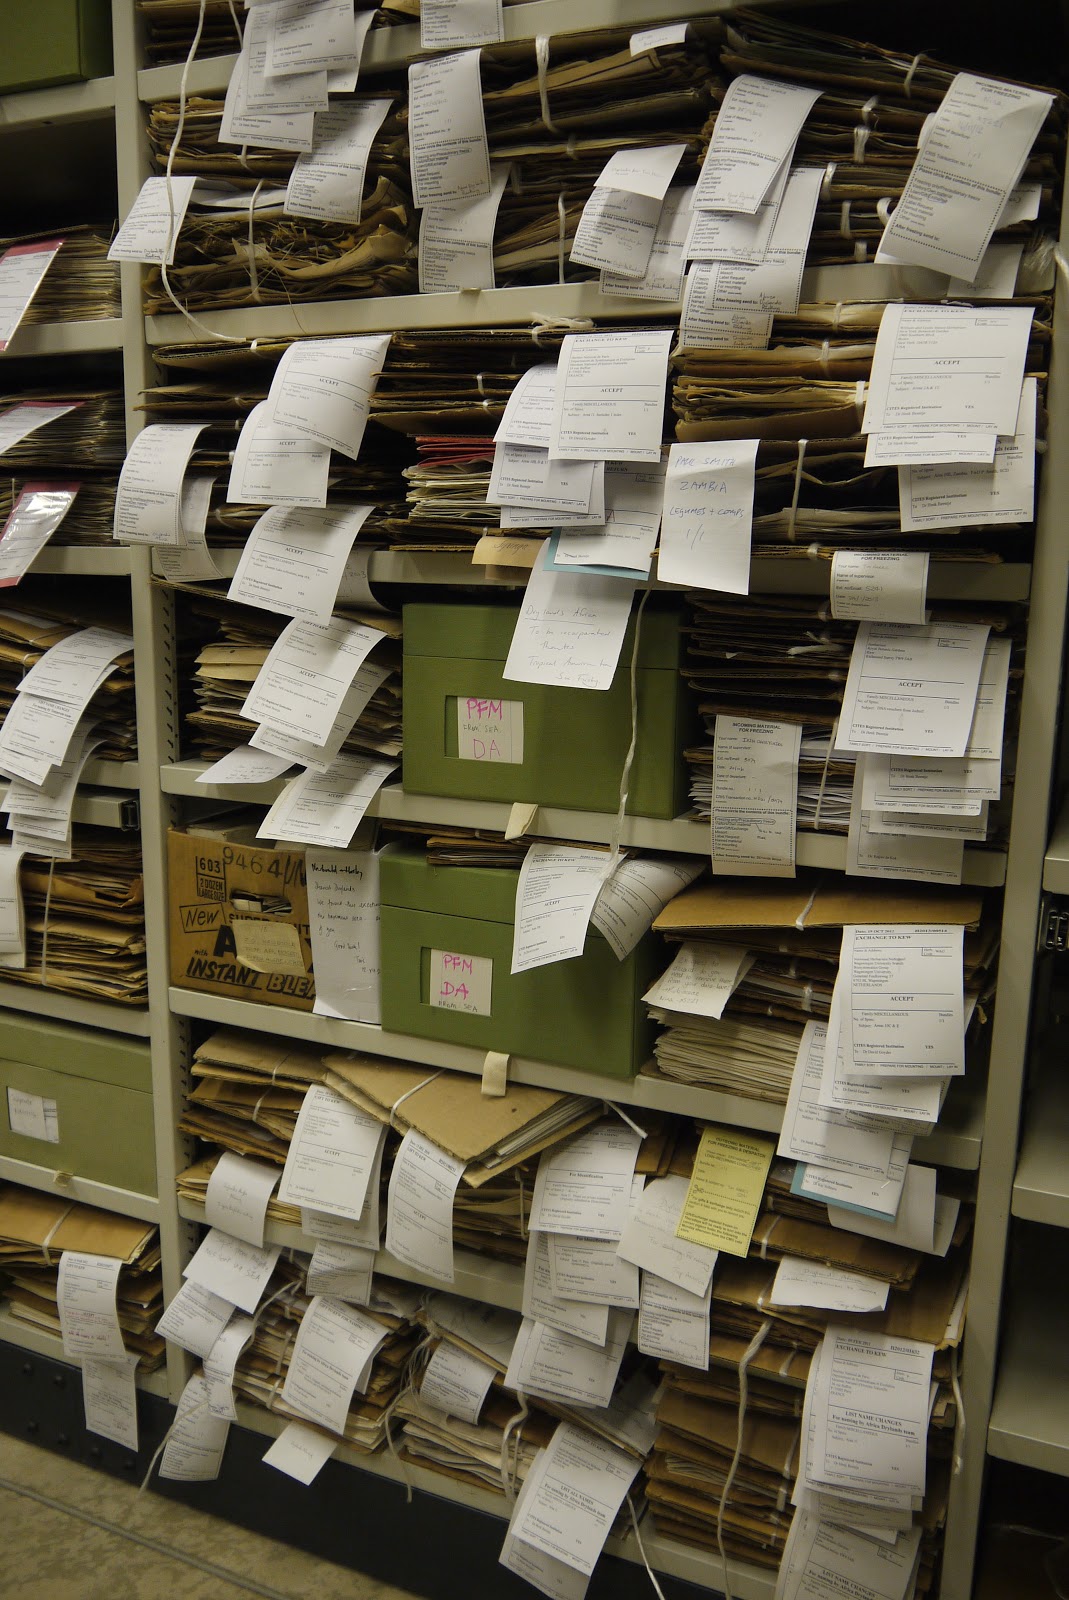
This is where specimens are put that have been borrowed or presented to Kew. I was surprised to see that they are attached to newsprint and kept between pieces of cardboard, tied up with string. It all seemed surprisingly low tech if not a bit cheap and didn't seem to relate to the importance and science that was going on but it has worked for a couple of hundred years so why change it?


This was in the 'spirit room' where some samples are pickled in a mixture of water, alcohol and formulin.


Was this Wing A or B, C, D or E? Anyway it was one of the oldest parts of the building which has been extended every 30 years or so to house the collection as it has grown.


A newer Wing.


Some of the different ways a plant is recorded: the actual plant, dried, pressed photographed and drawn to very precise rules.


Records from the East India company in their mahogany cases. These samples can only be used at Kew and are not available to borrow.